

How to Set Up a Sauna for Relaxation and Wellness
Bringing a sauna into your home is more popular than ever and nearly 1.4 million American households now have some form of in-home sauna. You might think all it takes is buying a kit and plugging in the heater but there are hidden steps that can make or break your wellness retreat. The truth is skipping just one crucial detail could turn your dream sauna into a costly headache.

Table of Contents
- Step 1: Choose The Right Sauna Type For Your Space
- Step 2: Select An Appropriate Location For Installation
- Step 3: Gather Necessary Tools And Materials
- Step 4: Assemble The Sauna Following Manufacturer Instructions
- Step 5: Connect Electrical Or Heating Components Safely
- Step 6: Test And Verify Sauna Functionality Before Use
Quick Summary
| Key Point | Explanation |
|---|---|
| 1. Choose the right sauna type | Match sauna type to your space and wellness goals for an optimal experience. |
| 2. Evaluate location requirements carefully | Ensure your sauna’s location has proper flooring, electrical access, and ventilation for safety and effectiveness. |
| 3. Gather specialized tools and materials | Collect essential tools and moisture-resistant materials to facilitate a smooth installation process. |
| 4. Follow manufacturer assembly instructions | Pay close attention to assembly guidance to ensure safety, functionality, and longevity of your sauna. |
| 5. Conduct thorough testing before use | Verify all components function correctly to ensure safe operation and reliable heating during your sauna experience. |
Step 1: Choose the Right Sauna Type for Your Space
Selecting the appropriate sauna for your home is a critical first step in creating a relaxing wellness sanctuary. Understanding the different sauna types and matching them to your available space and personal wellness goals will determine the success of your sauna experience.
Traditional saunas offer a classic heat therapy approach, utilizing heated rocks and wood-burning or electric stoves to generate intense dry heat. These saunas typically require dedicated indoor or outdoor spaces with robust ventilation and specific electrical requirements. They work best in larger areas like basements, dedicated wellness rooms, or spacious garages where temperature and humidity control can be precisely managed.
Infrared saunas represent a modern alternative that operates differently from traditional models. These units use light waves to directly heat your body instead of warming the surrounding air. Their compact design makes them ideal for smaller spaces like apartments, home offices, or bedrooms. Infrared models generally require less square footage and can be more energy efficient, making them an attractive option for individuals with limited space or those seeking a more streamlined wellness solution.
When determining your ideal sauna type, consider several key factors. Space dimensions play a crucial role potential placement. Measure your available area carefully and compare those measurements against potential sauna models. Consider not just floor space but also ceiling height electrical outlet proximity, and ventilation requirements.
Additionally, evaluate your personal wellness objectives. According to research published by the Mayo Clinic, different sauna types offer varying therapeutic benefits. Traditional saunas provide intense heat exposure, while infrared models offer more targeted body warming with potentially lower overall temperatures.
Key selection criteria include:
- Available square footage
- Electrical infrastructure
- Ventilation capabilities
- Personal health and wellness goals
- Budget considerations
By methodically analyzing these factors, you can confidently choose a sauna that not only fits your physical space but also aligns perfectly with your relaxation and wellness journey.
To help you determine which sauna is best for your home wellness setup, here is a side-by-side comparison of the two main types discussed in the article.
| Sauna Type | Heat Source | Space Requirements | Key Benefits | Best Locations |
|---|---|---|---|---|
| Traditional Sauna | Heated rocks; wood or electric | Requires more space | Intense dry heat; classic experience | Basements, wellness rooms |
| Infrared Sauna | Infrared light panels | Compact | Targeted body warming; energy-efficient | Apartments, bedrooms, offices |
Step 2: Select an Appropriate Location for Installation
Choosing the right location for your sauna is more than just finding an empty space it involves careful consideration of multiple factors that impact safety, functionality, and overall user experience. Your selected location will significantly influence the performance and enjoyment of your wellness investment.
Indoor installations require precise planning and strategic positioning. Look for areas with solid, level flooring that can support the sauna’s weight and withstand potential moisture exposure. Basements, spare rooms, and dedicated wellness areas often work excellently. Concrete or tile floors provide ideal surfaces, offering stability and easy cleaning. Ensure the chosen space has adequate electrical infrastructure to support your sauna’s power requirements and allows for proper ventilation.
Outdoor installations present unique considerations and exciting possibilities. Covered patios, backyard decks, and enclosed garden spaces can transform your sauna experience. When selecting an outdoor location, prioritize areas protected from direct wind and extreme weather conditions. Consider proximity to your home for convenient access and think about creating a privacy screen or natural barrier to enhance your relaxation environment.
According to accessibility guidelines from the U.S. Access Board, your sauna location must accommodate potential mobility needs. This means ensuring sufficient surrounding space for comfortable entry and exit, with a recommended clear turning radius of at least 60 inches for wheelchair users.
Key location evaluation criteria include:
- Structural integrity of the floor
- Proximity to electrical outlets
- Ventilation capabilities
- Privacy and comfort level
- Protection from environmental elements
Before finalizing your location, perform a comprehensive assessment. Measure the precise dimensions of your selected sauna model and compare them against the available space. Check ceiling height, confirm electrical compatibility, and visualize the user experience. A well-chosen location transforms your sauna from a mere appliance into a personal wellness sanctuary, setting the stage for relaxation and rejuvenation.
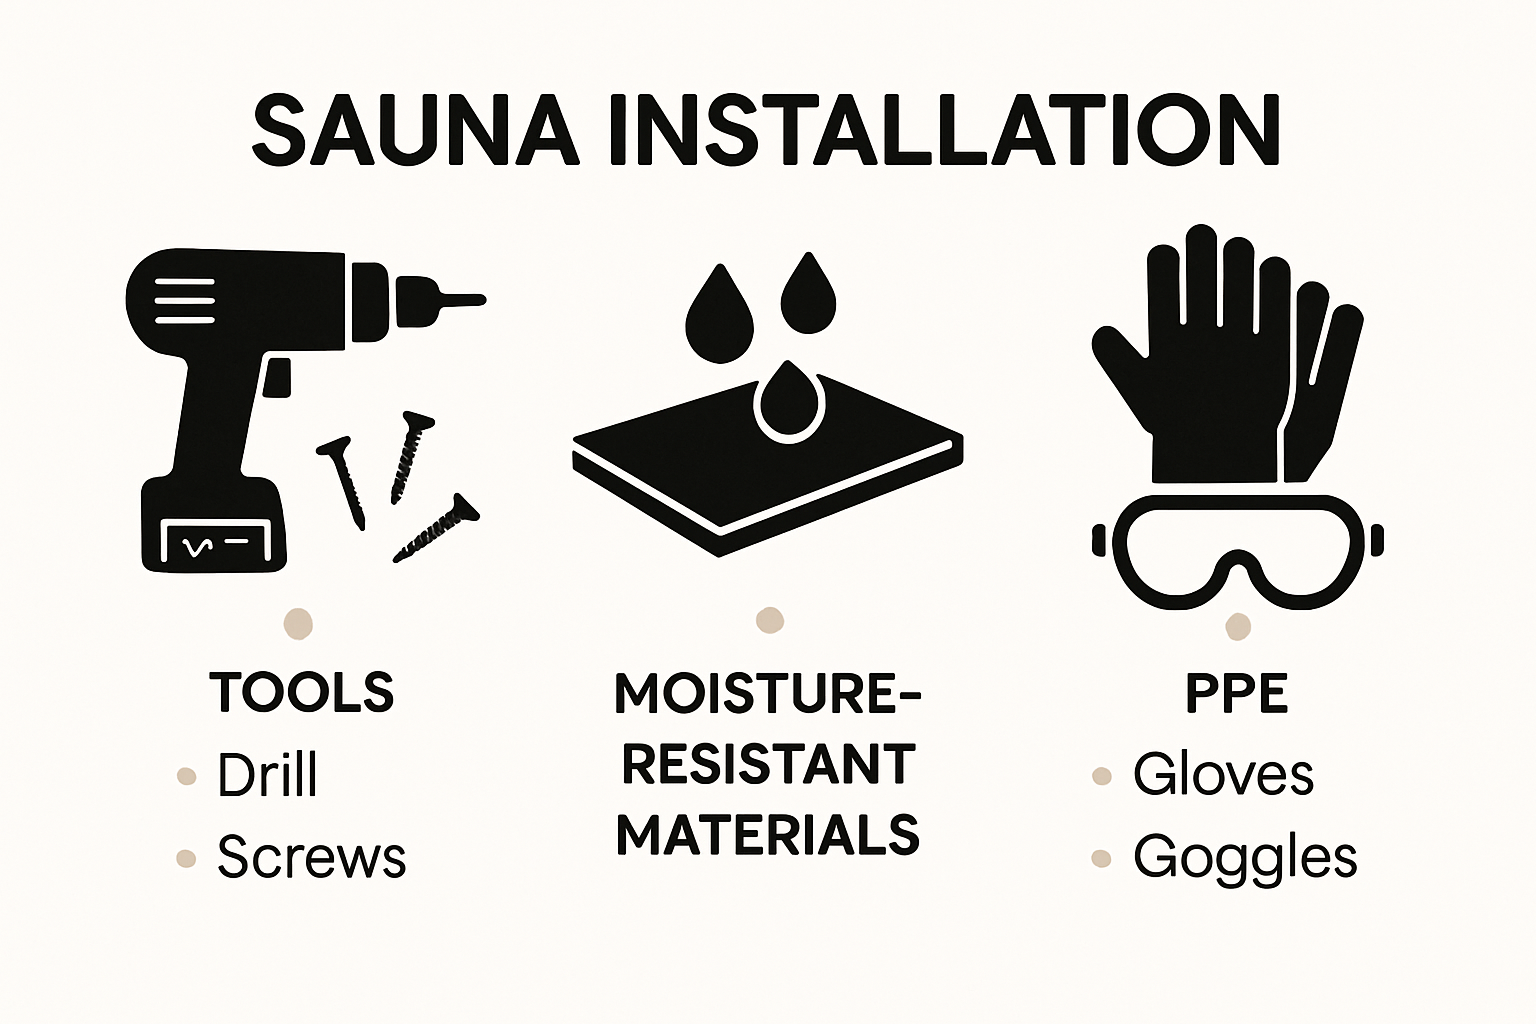
Step 3: Gather Necessary Tools and Materials
Prepping for your sauna installation requires careful collection of specialized tools and materials that ensure a smooth, safe, and successful project. This preparatory stage is crucial in transforming your wellness vision into a functional reality, setting the foundation for a comfortable and enjoyable sauna experience.
Electrical and Structural Tools form the core of your preparation. You will need a comprehensive toolkit including a power drill, level, measuring tape, stud finder, electrical multimeter, and wire strippers. These tools help you accurately assess your installation space, secure mounting points, and ensure precise electrical connections. Professional-grade electrical equipment is non-negotiable when working with high-voltage sauna systems.
Materials selection goes beyond basic construction supplies. Moisture-resistant materials are critical for sauna durability. Look for cedar, hemlock, or basswood planks that can withstand high temperatures and humidity. Specialized insulation materials designed for high-heat environments will help maintain temperature efficiency and prevent heat loss. Electrical components must be rated for sauna-specific conditions, including heat-resistant wiring and specialized circuit breakers.
According to safety guidelines from the CDC, personal protective equipment is essential during installation. This includes:
- Heat-resistant work gloves
- Safety glasses
- Sturdy work boots
- Dust mask
- Long-sleeve protective clothing
Additional critical materials include high-temperature silicone sealant, heat-resistant screws, electrical conduit, and grounding wire. Precision matters in every selection. Each material must meet specific thermal and safety standards to ensure your sauna’s long-term performance and user safety.
Before beginning installation, organize your gathered tools and materials in a clean, dry workspace. Create a comprehensive checklist and verify each item against your sauna manufacturer’s specific requirements. A methodical approach here prevents frustrating delays and ensures you have everything needed to complete your project efficiently and safely.
Step 4: Assemble the Sauna Following Manufacturer Instructions
Sauna assembly represents a critical phase where precision meets preparation. Your careful attention to manufacturer instructions will determine the safety, functionality, and longevity of your wellness investment. This step transforms your carefully selected materials and meticulously planned location into a functional sauna sanctuary.
Frame construction requires exceptional precision and patience. Begin by laying out all components systematically, cross-referencing the instruction manual and ensuring every piece is present. Wooden frame assembly demands careful alignment and level positioning. Use your previously gathered tools like the level and measuring tape to guarantee each structural component sits perfectly square. Pay close attention to joint connections, ensuring they are tight and secure without over-tightening, which could compromise wood integrity.
Electrical and heating system integration demands professional-level carefulness. Electrical connections must follow manufacturer specifications exactly. This typically involves connecting power supply lines, installing heating elements, and setting up control panels. If you are not completely confident in electrical work, consider hiring a licensed electrician to complete this portion of the installation. Improper electrical setup can create significant safety hazards and potentially void manufacturer warranties.
According to guidance from the North American Sauna Society, critical assembly considerations include:
- Precise frame alignment
- Secure structural connections
- Proper electrical integration
- Correct insulation placement
- Accurate ventilation setup
Once assembly is complete, conduct a comprehensive system verification. Check every connection, test electrical components without heat, and ensure all structural elements are rigid and stable. Listen for any unusual sounds during initial power-up and monitor temperature distribution. A successful assembly means your sauna operates smoothly, safely, and provides the relaxation experience you envisioned. Remember that patience during this stage prevents potential complications and ensures a high-quality, long-lasting wellness installation.
Step 5: Connect Electrical or Heating Components Safely
Electrical and heating component installation represents the most critical phase of your sauna setup, where precision and safety intersect. This step transforms your carefully assembled structure into a functional wellness space, demanding meticulous attention to every electrical connection and heating element.
Electrical preparation begins with confirming your dedicated circuit meets manufacturer specifications. Most residential saunas require a 220-240 volt circuit with specific amperage ratings. Before touching any wires, shut off power at the main breaker to eliminate potential electrocution risks. Use a voltage tester to double-check that the circuit is completely de-energized. Professional electricians recommend wearing insulated gloves and using tools with non-conductive handles during this process.
Heating element installation requires surgical-like precision. Carefully mount heating panels or stove components according to manufacturer guidelines, ensuring they are secured away from wooden surfaces and positioned to distribute heat evenly. Ceramic or infrared heating elements need precise mounting to prevent direct contact with structural materials. Pay close attention to recommended clearance distances and use heat-resistant mounting brackets designed specifically for sauna applications.
According to OSHA electrical safety guidelines, critical safety considerations include:
- Ensuring all electrical components are properly rated
- Using only approved electrical materials
- Maintaining recommended clearance distances
- Preventing potential short circuit risks
- Securing all electrical connections tightly
Once connections are complete, perform a comprehensive system test. Use a multimeter to verify proper voltage and resistance levels. Listen carefully for any unusual sounds and monitor temperature distribution during initial heating cycles. A successful electrical and heating component installation means your sauna will provide safe, consistent heat for years of wellness enjoyment. Remember that if you feel uncertain about any step, consulting a licensed electrician is always the safest choice.
Step 6: Test and Verify Sauna Functionality Before Use
Testing your newly installed sauna is a critical final stage that bridges careful construction with safe, enjoyable wellness experiences. This comprehensive verification process ensures that every component functions precisely as intended, protecting both your investment and your personal safety.
Initial electrical testing involves a methodical approach to confirming system integrity. Power up the sauna gradually, monitoring electrical connections and observing how heating elements respond. Use a digital infrared thermometer to track temperature distribution across different areas of the sauna. Watch for consistent heat progression and verify that control panels operate smoothly. Pay special attention to any unusual sounds, electrical buzzing, or unexpected temperature fluctuations that might indicate underlying installation issues.
Heating system evaluation requires patience and systematic observation. Run your sauna through complete heating cycles, noting how quickly it reaches target temperatures and how effectively it maintains consistent warmth. Temperature stability is crucial for creating a safe and comfortable environment. Check that ventilation systems function correctly, allowing proper air circulation and preventing excessive humidity buildup. Modern digital thermometers with logging capabilities can help you precisely track performance during these initial test runs.
According to NIOSH heat stress management guidelines, critical verification points include:
- Consistent temperature distribution
- Proper electrical system performance
- Effective ventilation functionality
- Safe heating element operation
- Accurate temperature control mechanisms
Before declaring your sauna fully operational, conduct a final comprehensive safety inspection. Verify that all structural components remain secure, electrical connections are tight, and no unexpected heat transfer occurs in surrounding areas. A successful test means your sauna delivers reliable, safe heat while providing the relaxation and wellness experience you envisioned. Remember that thorough testing now prevents potential complications and ensures many years of comfortable, worry-free sauna enjoyment.
Below is a checklist table to help you verify the safety and functionality of your sauna before first use. Use this as a final step-by-step reference.
| Verification Point | What to Check | Pass/Fail |
|---|---|---|
| Temperature Distribution | Heat is even across sauna benches and walls | |
| Electrical System Performance | All connections secure; no buzzing; circuit intact | |
| Ventilation Functionality | Air circulates; no humidity buildup | |
| Heating Element Operation | Elements heat properly, no odd noises or overheating | |
| Temperature Control Mechanisms | Accurate control panel operation | |
| Structural Stability | Frame, doors, and joints remain securely fastened | |
| No Unexpected Heat Transfer | No excessive heating outside sauna chamber |

Ready to Transform Your Home Into a Personal Wellness Sanctuary?
You have already uncovered the essential steps to setting up a sauna for ultimate relaxation and wellness. But finding the right sauna and reliable materials can often feel overwhelming, especially when you want to balance space, safety, and individual health goals. At Best Life Sauna, we make the journey simple and stress-free. Whether you are looking for a space-saving infrared model or dreaming of a spacious traditional sauna, our collection is built to match your vision. Enjoy peace of mind knowing every product meets strict safety and performance guidelines described in your guide. Plus, explore accessories and add-ons that make your wellness retreat truly personal.

Why wait to experience the health benefits of sauna use, from improved circulation to enhanced relaxation? Discover the perfect solution by visiting Best Life Sauna today. Benefit from free shipping on orders over $200 and a price match guarantee. Take the next step toward daily stress relief and comfort in your own home. Visit our home page now and bring your wellness space to life.
Frequently Asked Questions
What type of sauna is best for small spaces?
Infrared saunas are ideal for small spaces as they have a compact design and operate at lower temperatures, making them more energy-efficient than traditional saunas.
How do I ensure proper ventilation for my sauna?
For indoor saunas, choose a location with natural ventilation, such as a room with a window. Ensure the sauna has vents that allow for air circulation to prevent humidity buildup and maintain a comfortable environment.
What materials are best for sauna construction?
Moisture-resistant materials such as cedar, hemlock, or basswood are recommended for sauna construction due to their ability to withstand high temperatures and humidity. Insulation designed for sauna-specific conditions is also crucial.
How do I test my sauna’s functionality before using it?
Test your sauna by gradually powering it up, monitoring electrical connections, and using a digital thermometer to check for consistent temperature distribution. Ensure all components are functioning correctly and safely before first use.