How to Incorporate a Sauna for Ultimate Relaxation

Thinking about adding a sauna to your home? Most people expect that picking the right model is the hard part. But the real surprise comes when you realize that the ideal sauna space is often just 20 to 50 square feet, tucked into spots you might never consider—like a basement corner or enclosed patio. It turns out the most important factor is not size at all but how you prepare your space and match the setup to your lifestyle, which can make or break your entire wellness investment.
Table of Contents
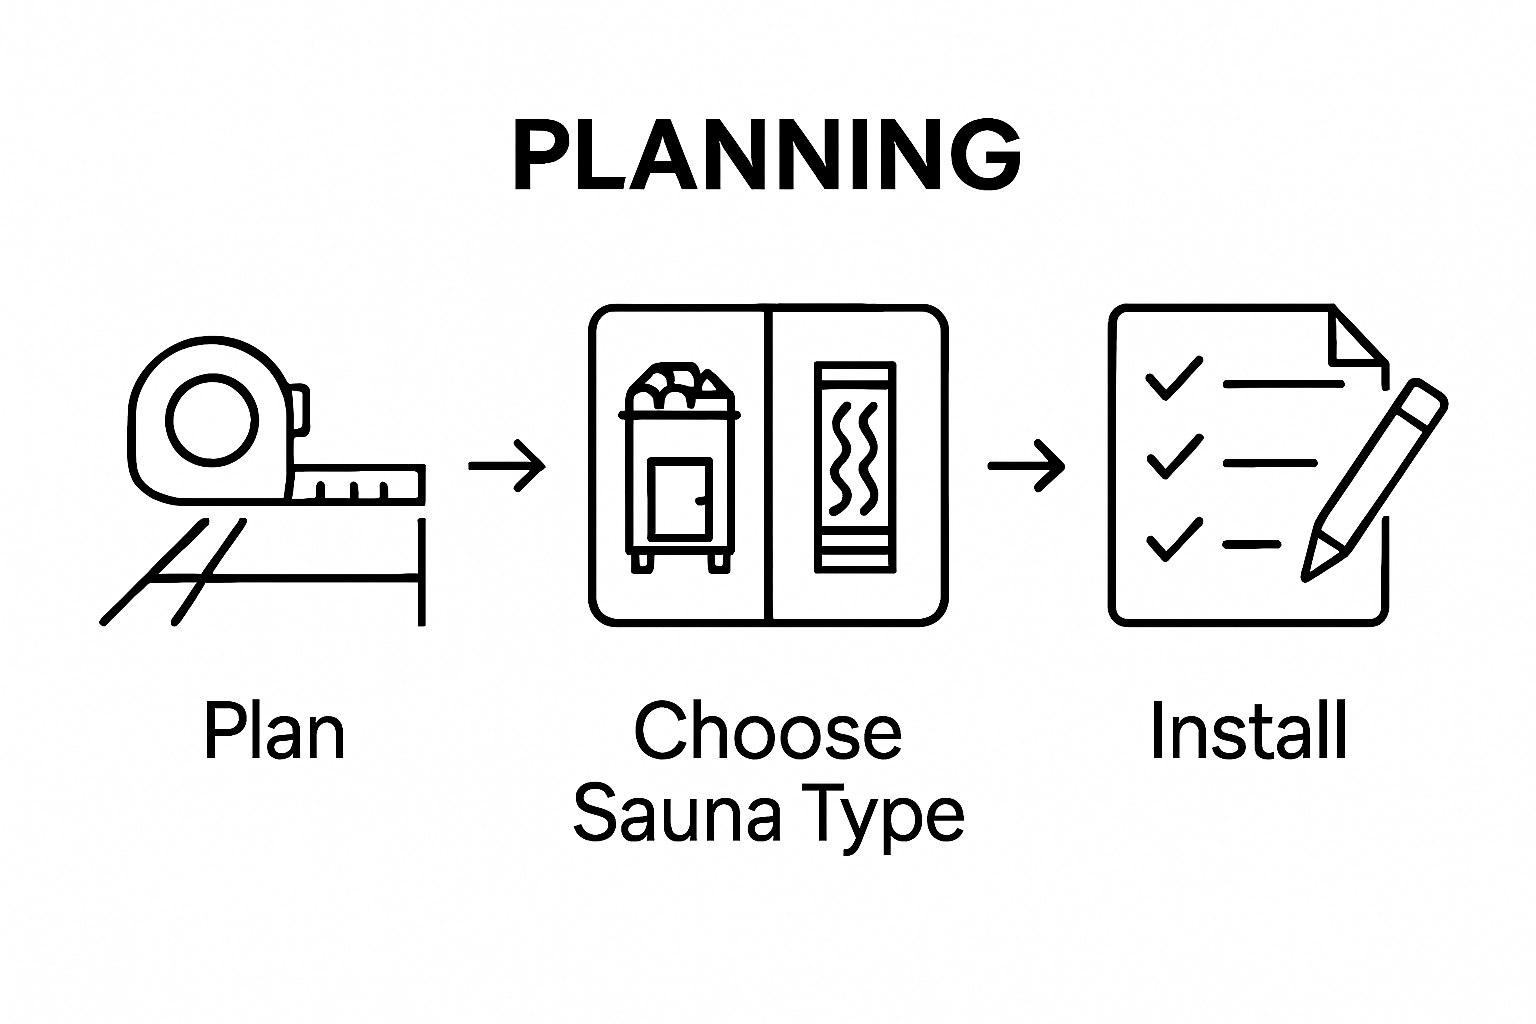
- Step 1: Evaluate Your Space For Sauna Fit
- Step 2: Select The Right Sauna Type For Your Needs
- Step 3: Prepare A Suitable Location For Installation
- Step 4: Install The Sauna Following Manufacturer Guidelines
- Step 5: Optimize Your Sauna Environment For Relaxation
- Step 6: Verify Functionality And Maintenance Protocols
Quick Summary
| Key Point | Explanation |
|---|---|
| 1. Assess Space Properly Before Installation | Measure your available space carefully and ensure it meets necessary requirements such as size, ventilation, and electrical support. |
| 2. Choose the Right Sauna Type | Select a sauna that matches your health goals and space constraints, considering traditional and infrared options based on your needs. |
| 3. Prepare Location with Necessary Modifications | Ensure your selected area has adequate ceiling height, proper flooring, and electrical capacity to safely accommodate the sauna. |
| 4. Follow Manufacturer’s Installation Guidelines | Adhere to specific installation steps and use recommended materials to ensure safety, efficiency, and functionality of your sauna. |
| 5. Establish Regular Maintenance Routines | Implement a consistent cleaning and inspection schedule to keep your sauna in optimal condition, prolonging its lifespan and safety. |
Step 1: Evaluate Your Space for Sauna Fit
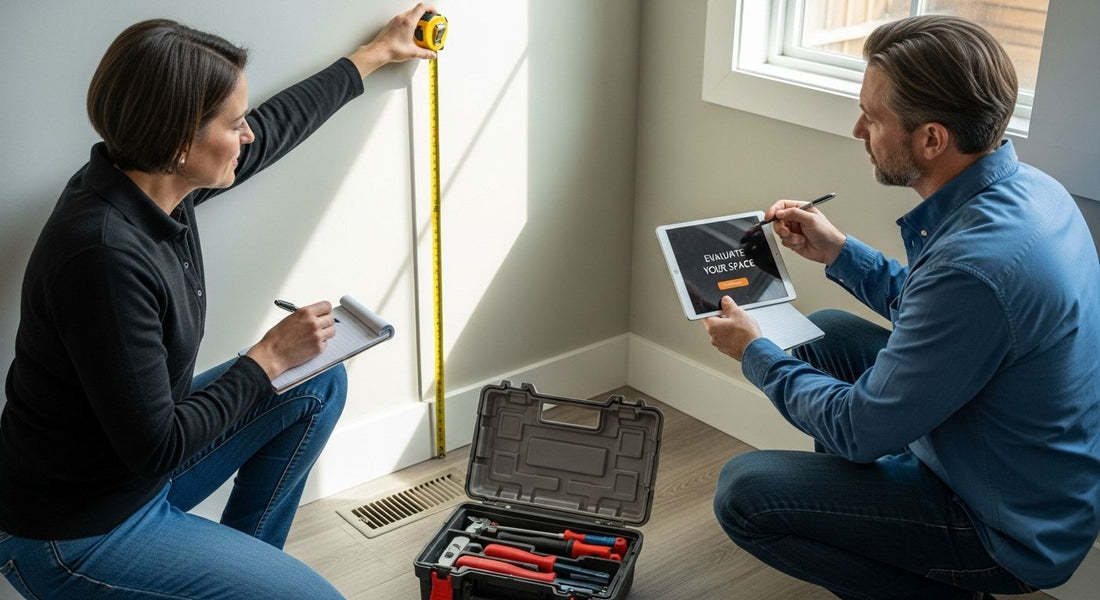
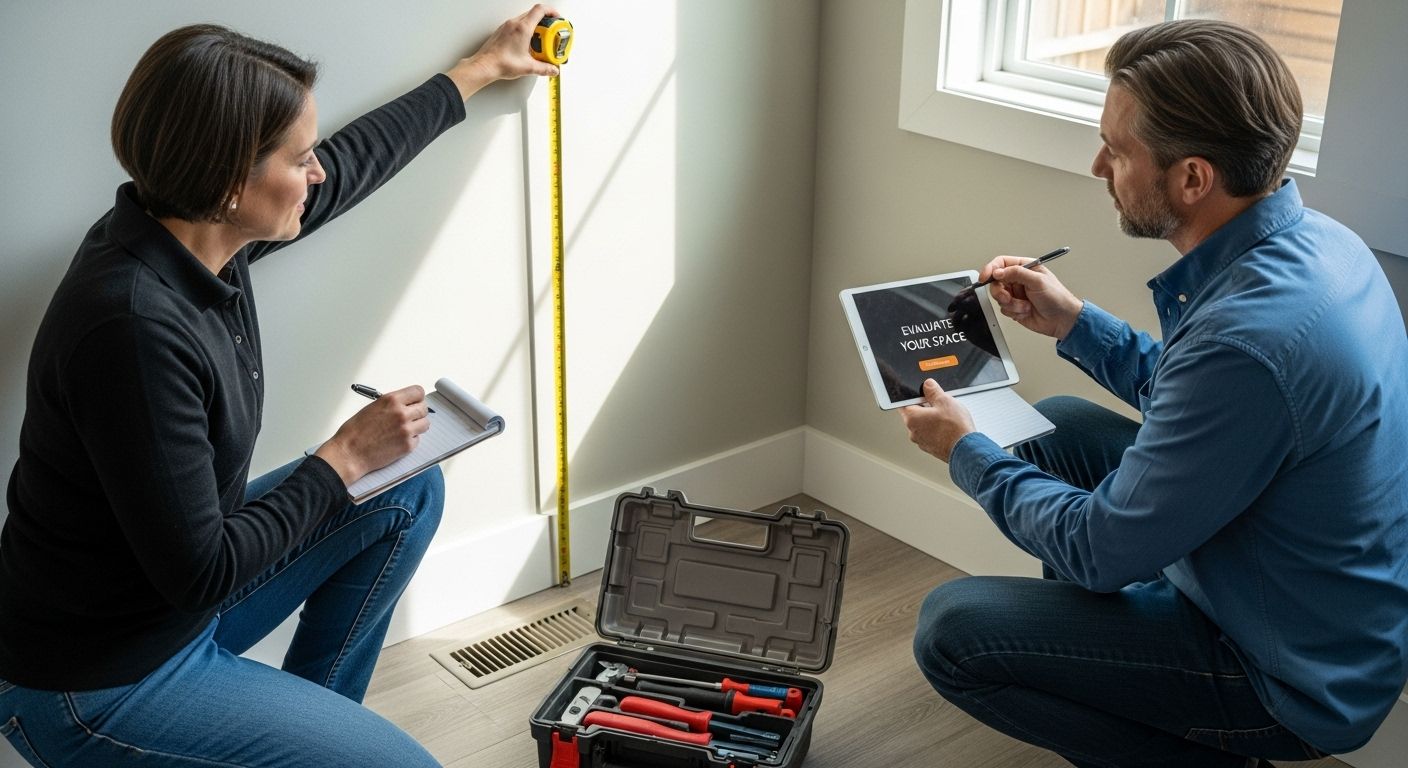
Setting up a sauna requires careful spatial planning to ensure a successful and enjoyable wellness experience. Before investing in your sauna, you need to conduct a comprehensive assessment of your available space that considers multiple critical factors beyond simple square footage.
Begin by measuring the intended area with precision. Ideal sauna locations typically range between 20 to 50 square feet, which accommodates most residential indoor and outdoor sauna configurations. Consider spaces like unused basement corners, spare bathrooms, enclosed patio areas, or dedicated wellness rooms. The location should provide adequate ventilation, moisture resistance, and proximity to electrical connections.
According to U.S. Environmental Protection Agency’s Building Assessment Survey, environmental assessment is crucial when introducing new heating elements. Evaluate your existing electrical infrastructure to confirm it can support your sauna’s power requirements. Most residential saunas need a dedicated 220V electrical circuit with proper amperage, which might require consultation with a licensed electrician.
Flooring becomes another critical consideration. Recommended flooring materials include ceramic tiles, sealed concrete, or waterproof vinyl, which can withstand high temperatures and potential moisture. Avoid wooden floors without proper sealing or carpeted areas that could potentially harbor moisture and develop mold. Ensure the chosen surface provides slip resistance and can handle temperature fluctuations without warping or degrading.
Ventilation represents a final crucial assessment factor. Proper air circulation prevents moisture buildup and maintains a comfortable sauna environment. Look for spaces with potential for both intake and exhaust ventilation, ideally near windows or with accessible ductwork. If indoor installation seems challenging, consider outdoor locations like a deck, backyard, or enclosed patio that offer natural ventilation and easier installation options.
By methodically evaluating these spatial requirements, you’ll create a solid foundation for your sauna installation, ensuring comfort, safety, and long-term enjoyment of your wellness investment.
Step 2: Select the Right Sauna Type for Your Needs
Choosing the perfect sauna involves understanding the unique characteristics and benefits of different sauna types, ensuring you select a wellness solution that aligns with your personal health goals, spatial constraints, and lifestyle preferences. Your selection will directly impact your relaxation and recovery experience.
Traditional saunas represent the classic heated room experience, typically constructed from wood and heated by electric or wood-burning stoves. These saunas generate high temperatures between 1506F and 1956F, creating an intense heat environment that promotes profound sweating and deep muscle relaxation. They work exceptionally well for individuals seeking a more intense, traditional heat therapy experience and who have robust cardiovascular health.
According to Mayo Clinic research, infrared saunas offer a gentler alternative, utilizing light waves to directly warm your body without significantly heating the surrounding air. Operating at lower temperatures between 1106F and 1356F, these saunas provide a more tolerable experience for individuals sensitive to extreme heat. Infrared technology penetrates deeper into body tissues, potentially offering enhanced detoxification and metabolic benefits.
When selecting your sauna type, consider these critical factors: personal health conditions, temperature tolerance, available space, and intended usage frequency. Individuals with cardiovascular limitations might find infrared saunas more comfortable, while fitness enthusiasts and traditional wellness practitioners might prefer the intense heat of conventional saunas.
Budget becomes another significant consideration. Traditional saunas generally require higher upfront investments and more complex installation processes, whereas infrared models tend to be more compact and energy efficient. Consider long-term operational costs, including electricity consumption and maintenance requirements.
Additionally, evaluate your primary wellness objectives. Are you seeking muscle recovery, stress reduction, improved circulation, or detoxification? Different sauna types offer varying therapeutic benefits. Consult with healthcare professionals if you have pre-existing medical conditions to determine the most suitable sauna experience for your specific health profile.
By carefully matching your personal needs with the appropriate sauna type, you’ll create a personalized wellness sanctuary that supports your health and relaxation goals.
Below is a comparison table summarizing the key differences between traditional and infrared saunas to help you choose the right type for your needs.
| Sauna Type | Typical Temperature Range | Heating Method | Ideal For | Main Benefits |
|---|---|---|---|---|
| Traditional Sauna | 150°F to 195°F | Electric or wood-burning | Intense heat enthusiasts; classic sauna | Deep muscle relaxation, intense sweating |
| Infrared Sauna | 110°F to 135°F | Infrared light waves | Heat-sensitive users; gentle heat therapy | Deeper tissue warming, better for cardiovascular concerns |

Step 3: Prepare a Suitable Location for Installation
Preparing the ideal location for your sauna installation requires meticulous planning and attention to detail. This critical step ensures your wellness investment functions safely, efficiently, and provides the optimal relaxation experience you desire.
Precise spatial configuration is fundamental to successful sauna placement. Aim for a location with a minimum ceiling height of 84 inches, which provides adequate headroom and ensures proper heat circulation. Indoor spaces like basements, spare rooms, or dedicated wellness areas work exceptionally well, while outdoor locations such as covered patios or backyard enclosures offer alternative installation possibilities.
According to the Health & Fitness Association, strategic ventilation is crucial for maintaining a comfortable and safe sauna environment. Install two distinct vents positioned strategically: one approximately 4 inches from the floor near the heater, and another 6 inches from the ceiling on an alternate wall. This configuration promotes optimal air circulation, preventing heat stagnation and supporting consistent temperature regulation.
Flooring selection demands careful consideration. Recommended surfaces include ceramic tiles, sealed concrete, or heavy-duty waterproof vinyl, which resist moisture, provide slip resistance, and withstand high temperatures. Avoid wooden floors or carpeted areas that can absorb moisture, potentially leading to structural damage or mold development. If possible, incorporate a subtle floor drainage system to manage condensation and enhance overall hygiene.
Electrical preparation represents another critical aspect of location readiness. Consult a licensed electrician to verify your chosen space can accommodate the sauna’s specific voltage requirements. Most residential saunas need a dedicated 220V circuit with appropriate amperage, potentially necessitating electrical system modifications. Ensure proximity to electrical outlets while maintaining safe distances from water sources.
Consider additional environmental factors like humidity levels, proximity to bathrooms or changing areas, and potential noise implications. Create a buffer zone around your sauna to prevent heat transfer to surrounding surfaces and maintain a dedicated wellness space. By methodically preparing your installation location, you’ll create a safe, comfortable sanctuary that supports your health and relaxation goals.
Here is a checklist table to organize essential requirements for preparing a suitable location for sauna installation, ensuring nothing important is overlooked.
| Requirement | Details/Suggestions | Verified (Yes/No) |
|---|---|---|
| Ceiling Height | Minimum 84 inches for proper headroom | |
| Flooring Type | Ceramic tiles, sealed concrete, heavy-duty waterproof vinyl | |
| Ventilation Setup | Two vents: 4 in. above floor, 6 in. below ceiling (opposing) | |
| Electrical Readiness | Dedicated 220V circuit, verify with licensed electrician | |
| Drainage Consideration | Floor drainage if possible for condensation management | |
| Environmental Factors | Assess humidity, proximity to wet areas/noise implications | |
| Buffer Zone | Maintain distance from surfaces for heat safety |
Step 4: Install the Sauna Following Manufacturer Guidelines
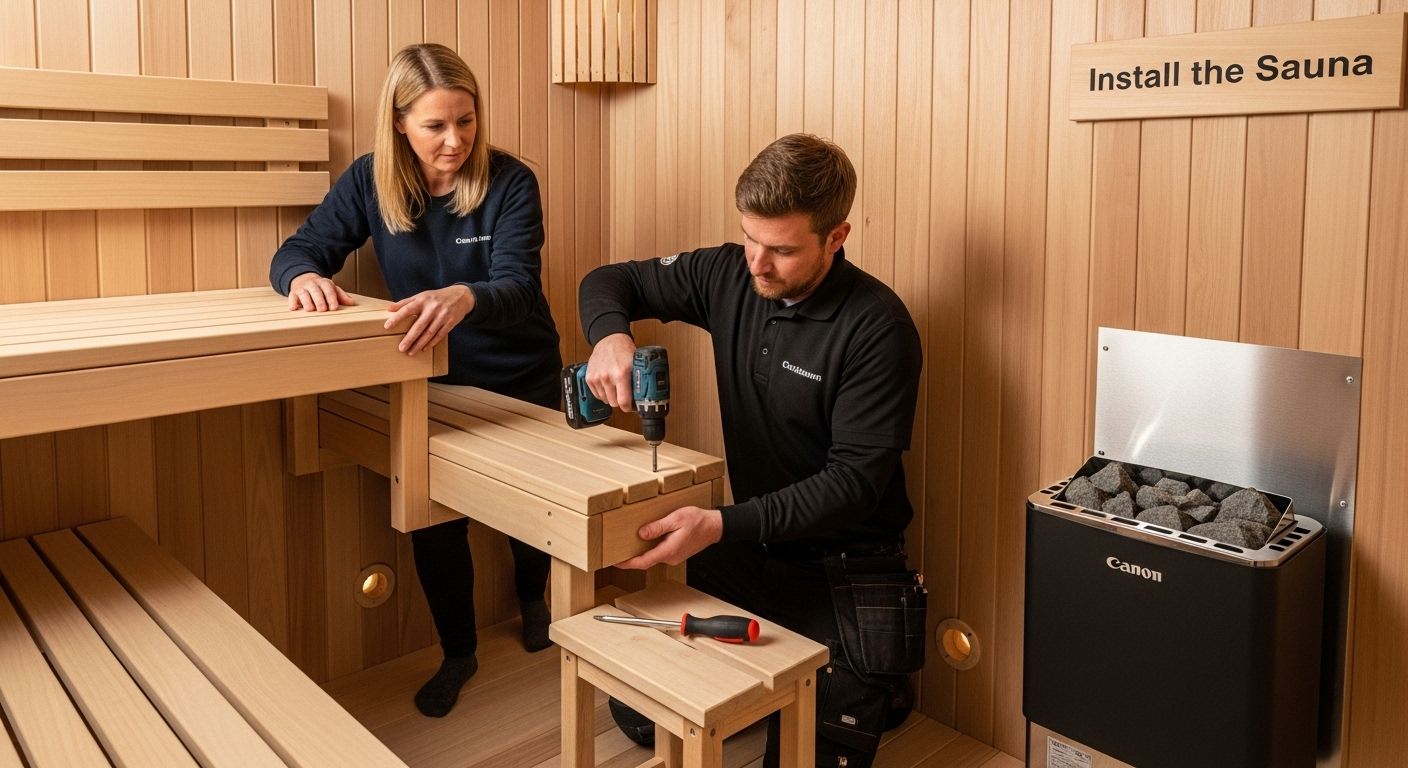
Installing a sauna requires precision, patience, and strict adherence to manufacturer specifications to ensure safety, functionality, and optimal performance. This step transforms your carefully selected space into a personal wellness sanctuary.
Begin by thoroughly reviewing the manufacturer’s installation manual, which serves as your comprehensive blueprint for successful setup. These guidelines provide critical details about framing, electrical requirements, ventilation specifications, and potential customization options. Professional-grade saunas typically include detailed schematic drawings that outline exact measurements, component placement, and necessary tools.
According to the North American Sauna Society, proper planning is fundamental to successful installation. Gather all required tools before beginning, which commonly include a level, drill, screwdriver set, measuring tape, stud finder, and electrical testing equipment. Confirm you have all components listed in the installation kit and that no pieces are damaged or missing.
Framing represents a critical aspect of sauna installation. Ensure wall studs are positioned precisely to support the sauna’s structural integrity, maintaining consistent spacing and alignment. Use moisture-resistant materials like cedar or hemlock, which naturally resist decay and provide excellent thermal insulation. Pay special attention to creating an air gap between the sauna’s interior and exterior walls to prevent heat transfer and moisture accumulation.
Electrical installation demands professional expertise. While some experienced DIY enthusiasts might feel confident, many manufacturers recommend hiring a licensed electrician to ensure proper voltage connection, circuit protection, and compliance with local building codes. The electrical setup must support the specific power requirements of your sauna heater, typically involving a dedicated 220V circuit with appropriate amperage.
Ventilation and door installation require meticulous attention. Position vents strategically to promote air circulation, typically placing one near the heater’s base and another near the ceiling. Install the door to swing outward, ensuring easy exit and preventing potential heat-related pressure buildup. Verify that door seals are tight and aligned correctly to maintain optimal internal temperature and energy efficiency.
Finally, conduct a comprehensive system check. Test electrical connections, verify heater functionality, and confirm that all components are securely fastened. By methodically following manufacturer guidelines, you’ll create a safe, efficient, and enjoyable sauna experience that supports your wellness journey.
This table summarizes the essential tools and materials recommended for a safe and effective sauna installation, along with their specific uses.
| Tool/Material | Purpose/Use |
|---|---|
| Level | Ensure sauna structure and framing are balanced |
| Drill and Screwdriver Set | Assemble sauna components and secure fastenings |
| Measuring Tape | Verify accuracy of dimensions and placement |
| Stud Finder | Locate wall studs for secure mounting |
| Electrical Testing Equipment | Test voltage and ensure electrical safety |
| Cedar or Hemlock Wood | Moisture-resistant framing and insulation |
| Moisture-Resistant Insulation | Thermal efficiency and moisture barrier |

Step 5: Optimize Your Sauna Environment for Relaxation
Creating a tranquil sauna experience extends far beyond temperature control, involving a holistic approach to sensory engagement and personal comfort. Your sauna should transform from a mere heating space into a sanctuary of wellness and rejuvenation.
Temperature management represents the foundation of your sauna experience. Traditional saunas typically operate between 80 and 90 degrees Celsius, providing optimal thermal stress for cardiovascular stimulation. Begin by understanding your personal heat tolerance, gradually increasing duration and temperature as your body adapts. Use a reliable digital thermometer to monitor conditions precisely, ensuring a consistent and comfortable environment.
According to research on thermal therapy, session duration plays a critical role in maximizing therapeutic benefits. Most individuals find 5 to 20 minutes per session ideal, followed by a cooling period. Listen to your body, avoiding prolonged exposure that might cause discomfort. Implement a gradual approach: start with shorter sessions and incrementally increase time as you become more acclimated to the heat.
Sensory enhancement transforms your sauna from functional to extraordinary. Consider incorporating soft, indirect lighting that creates a calming ambiance. Explore aromatherapy by using essential oil diffusers designed for high-temperature environments. Eucalyptus, lavender, and pine oils can provide additional relaxation benefits. Natural wood surfaces and minimal decorative elements help maintain a serene, minimalist atmosphere that promotes mental tranquility.
Hydration and comfort accessories are paramount. Keep a designated area for water bottles, ensuring easy access to prevent dehydration. Invest in high-quality, heat-resistant towels and consider a small waterproof Bluetooth speaker for gentle background music or meditation soundscapes. These elements work synergistically to elevate your sauna experience from merely functional to profoundly restorative.
Prepare a post-sauna recovery area that allows for gradual temperature readjustment. This space should provide comfortable seating, additional hydration options, and a calm environment for your body to normalize. By meticulously crafting each aspect of your sauna environment, you create a personalized wellness retreat that nurtures both physical and mental well-being.
Step 6: Verify Functionality and Maintenance Protocols
Maintaining your sauna requires a systematic approach that ensures longevity, performance, and safety. This critical step transforms your initial installation into a sustainable wellness investment by implementing regular inspection and care protocols.
Initial functionality testing is paramount to confirm your sauna operates precisely as designed. Begin with a comprehensive electrical system check, verifying that all heating elements, control panels, and temperature sensors function correctly. Run a complete heating cycle, monitoring temperature stability and ensuring the system reaches and maintains the desired heat range without fluctuations. Listen carefully for any unusual sounds from electrical components or heating mechanisms that might indicate potential issues.
According to the Health & Fitness Association, regular maintenance involves a multifaceted approach. Develop a structured cleaning routine that addresses both interior and exterior surfaces. Use manufacturer-recommended wood cleaners specifically designed for sauna environments, avoiding harsh chemical products that could damage delicate wooden surfaces. Pay special attention to bench areas, walls, and floor surfaces, wiping them down after each use to prevent moisture accumulation and potential bacterial growth.
Ventilation systems demand consistent monitoring to maintain optimal air quality and prevent moisture-related deterioration. Inspect vents quarterly, ensuring they remain unobstructed and free from dust or debris. Clean ventilation openings using soft brushes or vacuum attachments designed for delicate surfaces. Check seals around doors and windows to confirm they remain tight, preventing heat loss and maintaining energy efficiency.
Electrical components require periodic professional inspection. Schedule annual evaluations with a licensed electrician who specializes in sauna systems. These experts can identify potential wiring issues, test circuit integrity, and ensure all electrical connections remain secure and functioning correctly. Proactive maintenance prevents costly repairs and potential safety hazards.
Establish a comprehensive maintenance log to track cleaning dates, electrical inspections, and any performance anomalies. Document each maintenance session, recording temperatures, cleaning methods, and any observed changes in sauna performance. This systematic approach transforms maintenance from a reactive task to a strategic wellness management process, ensuring your sauna remains a reliable sanctuary of relaxation and health.
Use the following table as a maintenance checklist to help you track essential sauna care activities for sustained safety and performance.
| Maintenance Task | Frequency | Notes |
|---|---|---|
| Clean interior surfaces | After every use | Use manufacturer-approved sauna or wood cleaners |
| Clean and inspect ventilation | Quarterly | Remove dust/debris, ensure vents are clear |
| Electrical system inspection | Annually | Conducted by licensed electrician |
| Check door/window seals | Monthly | Ensure tightness for optimal heat retention |
| Record maintenance log | Each maintenance | Document dates, methods, and observations |
| Monitor heating elements | Monthly | Listen for unusual sounds, monitor temperature stability |
Transform Your Space into a Premium Wellness Retreat
Have you ever dreamed of turning your home into the ultimate sanctuary for relaxation and health, but felt overwhelmed by the details of planning, selecting, and installing the perfect sauna? This guide on incorporating a sauna for ultimate relaxation highlights the challenges many people face. From assessing the right space and selecting between traditional or infrared options to ensuring proper installation and long-term maintenance, the process can seem daunting. Yet, your commitment to creating a personal wellness haven deserves the best solutions and support.

With Best Life Sauna, every step described in the article becomes effortless. Discover a complete range of premium saunas and wellness essentials that match your space, style, and health goals. Whether you want a traditional sauna for deep relaxation or an infrared model for gentle heat therapy, our collection fits indoor or outdoor environments. Plus, you can choose from wellness accessories and custom upgrade options to craft a truly personalized retreat.
Don’t let uncertainty postpone your wellness journey. Explore Best Life Sauna now to access expert guidance, competitive offers like free shipping over $200, and real customer reviews that prove the difference. Take your next step today and bring the power of professional relaxation into your home.
Frequently Asked Questions
What should I consider when evaluating space for my sauna?
When evaluating space for your sauna, consider the area’s size (20 to 50 square feet is ideal), existing electrical infrastructure, flooring materials (like ceramic tiles or sealed concrete), and proper ventilation to maintain moisture control.
What are the main types of saunas available?
The main types of saunas include traditional saunas that use heated rocks or stoves to create intense heat, and infrared saunas that utilize light waves for lower temperature therapy. Each type offers unique benefits tailored to different personal health goals.
How can I prepare my location for sauna installation?
To prepare your sauna location, ensure a ceiling height of at least 84 inches, select moisture-resistant flooring, install proper ventilation (with vents near the heater and ceiling), and consult an electrician for the required electrical setup.
What maintenance practices are important for my sauna?
Regular maintenance of your sauna includes cleaning interior and exterior surfaces with appropriate cleaners, checking and cleaning ventilation systems, scheduling annual electrical inspections, and keeping a log of maintenance activities to ensure optimal functionality.

