

Building a Sauna at Home: Step-by-Step Guide for Success
Did you know that building a home sauna can increase your property’s value by up to 6 percent while supporting daily wellness routines? More families are seeking ways to relax and recharge without leaving home, so a personal sauna has become a sought-after upgrade. Planning your own sauna might seem complex, but breaking the process into simple steps helps you design a custom retreat that fits your space perfectly.
Table of Contents
- Step 1: Assess Space and Choose Sauna Type
- Step 2: Gather Materials and Essential Tools
- Step 3: Construct Framing and Install Insulation
- Step 4: Install Sauna Heater and Electrical Components
- Step 5: Add Interior Paneling and Benches
- Step 6: Test Functionality and Finalize Safety Checks
Quick Summary
| Key Point | Explanation |
|---|---|
| 1. Measure your sauna space accurately | Determine the exact dimensions of your space to select a sauna type that fits comfortably and meets your needs. |
| 2. Choose between steam and infrared saunas | Understand the differences in heating methods to select the sauna type that aligns with your personal wellness goals. |
| 3. Gather quality materials and tools | Ensure you have all necessary supplies, including moisture-resistant woods and insulation, to guarantee a durable sauna structure. |
| 4. Prioritize safety during electrical work | Engage a licensed electrician to ensure safe and compliant installation of your sauna heater and electrical components. |
| 5. Conduct thorough functionality tests | Run tests on your sauna’s heater and safety features before first use to prevent potential issues and ensure proper operation. |
Step 1: Assess Space and Choose Sauna Type
Ready to transform a corner of your home into a personal wellness retreat? This step is all about understanding your space and selecting the perfect sauna setup that fits your lifestyle and available room.
Start by measuring the area where you want to install your sauna. According to research from Sauna Bloom, a compact 4x4 foot space works great for one or two people, while an 8x8 foot area can comfortably accommodate four users. Think about your typical sauna companions and plan accordingly.
Your first big decision is indoor versus outdoor placement. An indoor sauna might fit perfectly in an unused basement corner or spare room. For outdoor installations, ensure you have a level area protected from harsh weather conditions. When choosing your location, consider proximity to a bathroom or changing area for convenience.
Next, decide between traditional steam and infrared sauna types. Steam saunas offer that classic hot room experience with high humidity, while infrared models provide more targeted heat directly to your body. Your choice will depend on personal preference, available space, and desired wellness benefits.
Here’s a comparison of traditional steam and infrared sauna types to help you decide which suits your needs:
| Feature | Traditional Steam Sauna | Infrared Sauna |
|---|---|---|
| Heating Method | Heated rocks & water steam | Infrared heaters |
| Humidity Level | High | Low |
| Heat Experience | Air heats entire room | Direct body heating |
| Typical Temperature | 150-195°F | 120-150°F |
| Installation Space | Requires more ventilation | Compact, flexible |
| Power Use | Higher energy consumption | Lower energy use |
| Maintenance | Clean rocks & water basin | Minimal upkeep |
Pro Tip: Check local building codes before starting your project. Many municipalities require permits for electrical work or structural additions.
As you move forward, remember that ceiling height matters too. Experts recommend 7 to 9 foot ceilings to help distribute heat evenly without wasting energy. Your next step will be gathering precise measurements and selecting the specific sauna design that matches your space perfectly.
Step 2: Gather Materials and Essential Tools
Time to stock up on everything you will need to transform your sauna dream into reality. Gathering the right materials and tools is like preparing for a strategic mission that will result in your personal wellness sanctuary.
According to research from Home In Depth, you will want to start with structural materials. For framing, grab 2x4 or 2x6 lumber for walls and ceiling. Do not forget critical components like a foil-faced vapor barrier to protect against moisture and insulation materials. Experts recommend R-13 insulation for walls and R-19 for ceilings to ensure optimal heat retention.
When selecting wood for interior paneling, Sauna Bloom suggests using moisture resistant woods like cedar, hemlock, or spruce. These not only look beautiful but also withstand the humid environment of a sauna. For flooring, consider ceramic tiles or sealed concrete for indoor saunas, or slip resistant cedar for outdoor installations.
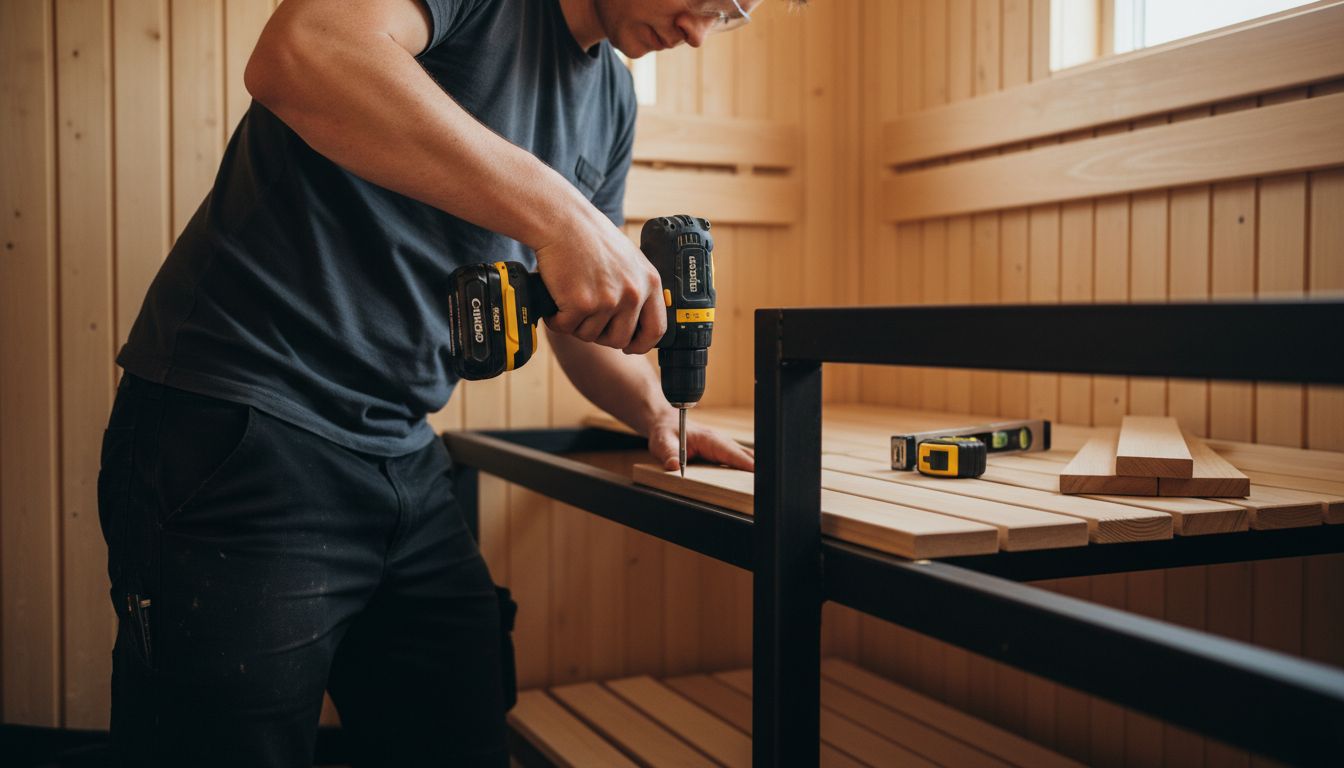
For your tool collection, prepare to arm yourself with some essential equipment. You will need a circular saw, compound miter saw, power drill, nail gun, level, measuring tape, speed square, caulking gun, hammer, and utility knife. Think of these as your construction companions that will help you build precision and quality into every step.
Pro Tip: Purchase slightly more materials than you think you will need. Construction projects always have unexpected requirements, and having extra materials prevents frustrating delays.
As you gather your materials and tools, envision the relaxing space you are creating. Your next step will involve preparing the installation area and beginning the exciting process of bringing your sauna to life.
Step 3: Construct Framing and Install Insulation
Now we are diving into the structural heart of your sauna project. This stage transforms your space from an empty area into a solid foundation for your wellness retreat.
According to Summer House 24, start by constructing a sturdy frame using your chosen timber. Focus on creating level walls, roof, and floor that will support your entire sauna structure. Precision matters here imagine each stud and beam as a guardian protecting your future relaxation space.
When it comes to insulation, research from Finnmarks Sauna reveals critical insights. Forget standard insulation boards that cannot handle high temperatures. You want specialized sauna insulation boards like Kingspan Sauna Satu that can withstand heat up to 100 degrees Celsius for extended periods. These special boards do double duty by acting as a vapor seal and preventing thermal bridging.
After installing your insulation between wall studs, carefully apply a vapor barrier on the interior side. This step is crucial it prevents moisture from sneaking into your walls and potentially causing long term damage. Think of the vapor barrier as your saunas protective shield against hidden moisture threats.
Pro Tip: Double check your measurements and ensure everything is perfectly level before securing materials. A fraction of an inch can make a big difference in your final sauna structure.
As you complete framing and insulation, you are setting the stage for the next exciting phase transforming this skeletal structure into a fully functional sauna sanctuary.
Step 4: Install Sauna Heater and Electrical Components
You are about to bring your sauna to life with its most critical component the heater. This step transforms your wooden structure from a simple room into a functional wellness space that will provide warmth and relaxation.
According to research from Home In Depth, selecting the right heater depends on your specific sauna dimensions. For a compact 4x6 foot indoor sauna, a 4.5 kW electric heater will work perfectly. If you are building a larger 6x8 foot outdoor sauna, you will want to upgrade to a 6-8 kW heater to ensure adequate heat distribution.
When choosing your heater, Sauna Bloom recommends exploring options from reputable brands like Helo or HUUM. The type of heater matters too. You can choose between electric, wood burning, or infrared models depending on your personal preference and sauna design.
Here is where professional expertise becomes crucial. Electrical installations are not a DIY project for most homeowners. A licensed electrician will ensure your heater is wired correctly, meets local building codes, and operates safely. They will handle complex tasks like running appropriate gauge wiring, installing dedicated circuit breakers, and positioning controls for optimal accessibility.
Pro Tip: Always consult with a professional electrician before attempting any electrical work. Improper installation can lead to serious safety risks and potential fire hazards.
As you complete the heater installation, you are one step closer to enjoying your personal sauna sanctuary. Your next phase will involve adding the finishing touches that transform this space from a construction project into a relaxation destination.
Step 5: Add Interior Paneling and Benches
Welcome to the transformation stage where your sauna starts to feel like a real sanctuary. This step is about creating a beautiful and functional interior that will make every sauna session feel luxurious and inviting.
According to Home In Depth, selecting the right wood is crucial. Look for moisture resistant woods like cedar, hemlock, or spruce for your interior paneling. These woods are not just practical they bring an incredible aromatic quality that enhances your sauna experience. Opt for tongue-and-groove boards that will create a seamless professional looking finish.
When it comes to bench construction, Sauna Bloom recommends using cedar 2x4s for the frame and 1x6 decking for seating. Focus on creating sturdy benches that can support multiple users comfortably. Think about your typical sauna session how many people will use the space, and design your bench layout accordingly.
As you install the paneling, work carefully and methodically. Start from one corner and ensure each board fits snugly against the next. The goal is a smooth, tight finish that looks professional and prevents any potential moisture intrusion. Your benches should be securely fastened to the wall, providing stable and comfortable seating that can withstand the heat and humidity.
Pro Tip: Sand all wood surfaces before installation to ensure a smooth finish and prevent potential splinters. A little preparation goes a long way in creating a comfortable sauna experience.
With the paneling and benches in place, you are just steps away from completing your personal wellness retreat. The next phase will bring your sauna to life with final touches and functional elements.
Step 6: Test Functionality and Finalize Safety Checks
You have reached the critical moment of truth. This final stage transforms your DIY project from a construction effort into a fully functional wellness sanctuary that needs to be thoroughly vetted for performance and safety.
According to Sauna Bloom, your first task is running the heater through a comprehensive test. Fire up the system and carefully monitor how quickly it reaches your desired temperature. Pay close attention to heat distribution and how consistently the sauna maintains its warmth. Watch for any unexpected temperature fluctuations or areas that seem cooler than others.
Research from Summer House 24 emphasizes the importance of a thorough safety inspection. Check every electrical connection to ensure they are secure. Verify that your ventilation system works perfectly allowing proper air circulation. Test the door mechanism multiple times to confirm it opens and closes smoothly without any resistance.
Evaluate your emergency preparedness. Ensure you have a clear exit route and that all safety features function correctly. This includes checking fire extinguisher placement, understanding your heater automatic shutoff mechanisms, and confirming no exposed wiring or potential hazard points exist.
Pro Tip: Consider having a professional inspector review your sauna before its first full use. A quick professional assessment can catch any potential issues you might have missed.
With these critical checks complete, you are moments away from enjoying your very own personal wellness retreat. Your next adventure involves adding those final personal touches that will make this space uniquely yours.
Ready to Turn Your Sauna Dream Into Reality
Building a sauna at home can feel overwhelming with so many details to consider from choosing the right heater to perfecting the insulation and paneling. You want a sturdy, safe, and beautiful sauna that delivers consistent warmth and wellness benefits like stress relief and improved circulation. The good news is you do not have to navigate this journey alone.
Best Life Sauna offers premium sauna options including traditional and infrared models designed for easy integration into your space. Whether you are starting your project or looking for trusted accessories to complete your sanctuary, we provide expert guidance and products to support every step. Take the guesswork out of selecting components that fit your room size and heating needs.
Explore our wide range of home saunas and wellness solutions at Best Life Sauna. Experience hassle-free shopping with free shipping on orders over $200 and our price match guarantee. Start your ultimate relaxation journey today by browsing quality saunas that match your unique vision. Visit premium sauna selections now and make your personal wellness retreat a welcoming reality.
Frequently Asked Questions
How do I choose the right type of sauna for my space?
Choosing the right type of sauna depends on your available space and personal preference. Decide between traditional steam or infrared models based on the desired heat experience and wellness benefits.
What materials do I need to build a sauna at home?
To build a sauna, you will need structural materials like 2x4 or 2x6 lumber, insulation, a vapor barrier, and moisture-resistant woods for paneling. Gather essential tools including a circular saw, power drill, and level to ensure accurate construction.
How do I install a sauna heater safely?
Install a sauna heater by first selecting the appropriate size for your sauna dimensions. It’s crucial to hire a licensed electrician to properly wire the heater and ensure compliance with local building codes for safe operation.
What are the key steps for insulating my sauna?
To insulate your sauna, use specialized sauna insulation boards and install them between the wall studs. Apply a vapor barrier on the interior side to prevent moisture intrusion, ensuring optimal heat retention and durability.
How can I test my sauna’s functionality?
Test your sauna’s functionality by running the heater and monitoring how quickly it reaches the desired temperature. Check for consistent heat distribution and verify all electrical connections and safety features before first use.
What final checks should I perform before using my sauna?
Before using your sauna, conduct a thorough safety inspection, including testing the ventilation system, ensuring the door operates smoothly, and checking emergency features like fire extinguishers. Aim for a complete check within 1-2 days to ensure everything functions correctly.